WordPress
- Check Your PHP Version in WordPress
- Discourage search engines from indexing this site
- How do I add a new WordPress admin user? Or remove one?
- How do I add HTML code to my website?
- How do I change who a form gets sent to?
- How do I edit my WordPress header or footer?
- How do I redirect a page or post?
- How do I replace an existing PDF or image in WordPress?
- How do I set up a staging website?
- How to Edit WordPress Navigation Menu/Links
- How To Improve WordPress Search
- How to know and what to do if my WordPress website gets hacked?
- How to test changes without messing up a live web page
- Should I run a WordPress security plugin?
- Should I upload videos directly to my website?
- What Is Xmlrpc.php in WordPress? Why disable it?
- What premium plugins/services do I get with your service?
- Where can I find images to use on my website?
- Why are there plugin updates in my WordPress Dashboard?
Digital Marketing
- How to Add Google Analytics to WordPress
- How to Claim Your Business Profile on Google
- Technical SEO Explained Simply
Problem Solving
 Problem Solving
- Does my website use cookies?
- Email Account vs Email Forwarder
- How to Add a Delegate User on Squarespace Domains
- How To Assign A Technical Contact in Network Solutions
- How to clear the cache in Chrome
- How to clear the cache in Edge
- How to clear the cache in Firefox
- How to clear the cache in Opera
- How to clear the cache in Safari
- How to Clear Your Browser Cache
- How to Delegate Access to Your GoDaddy Account
- How to Delegate Domain Access on Namecheap
- How to spot phishing attempts
- How To View Your Website Traffic/Analytics
- I’m not receiving form notifications from my website
- My changes aren’t showing up on my website
- My image looks blurry after I upload it?
- My site shows a security/SSL warning
- What to Include When Contacting our Helpdesk
- Why doesn’t Google show my meta description or title?
Website Reports
- How to Read Your Monthly Website Care Report
- Understanding Google Search Console Metrics in Your Report
- Understanding Website Email Delivery Reports
- What the Security Status in Your Monthly Report Means
- What to Do If Your Monthly Report Shows an Issue
- Why Blocked Traffic Does Not Mean Your Website Was Hacked
How do I add HTML code to my website?
Table of contents
If you’re working with a marketing agency, lead tracking company, or are working on some type of third-party integration with your website, you may be asked to add some code to your website. We’re here to help you with that if you’d simply like us to add it for you, otherwise, follow our guide below.
First, where does the code need to be added?
The first thing you need to figure out is where the code needs to be added.
There are a number of spots;
- within your <head> tag
- within your <body> tag
- within your <footer> tag
- on a specific page of your website, within a certain area
How to add code within the <head> or <body> tag of your WordPress website
If you’re asked to add code within the <head> tag of your website, this means you’re going to be adding code to every page of your website.
Note: This could potentially slow down your website since every page is going to have ‘more’ to load. Only add code to your website that you trust and need.
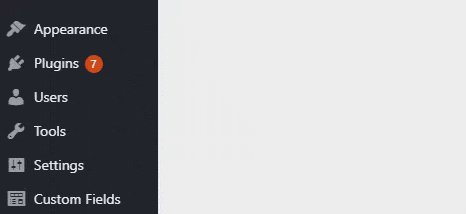
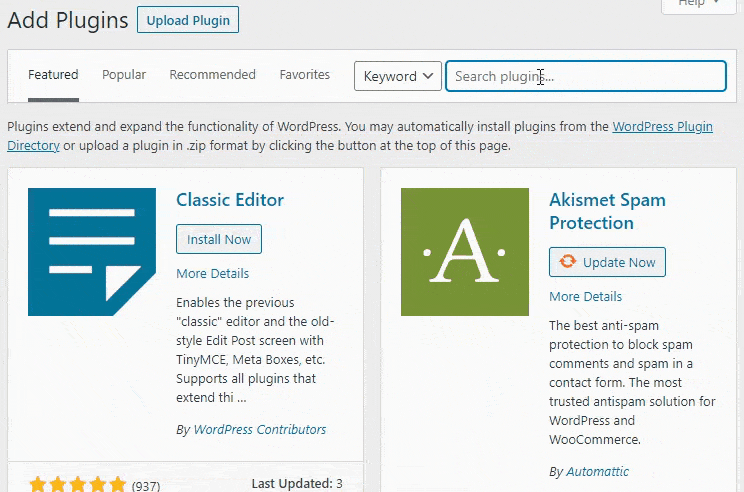
- First, we’re going to need to install a plugin on your website, if it isn’t already installed. Log into your WordPress dashboard and go to Plugins > Add New

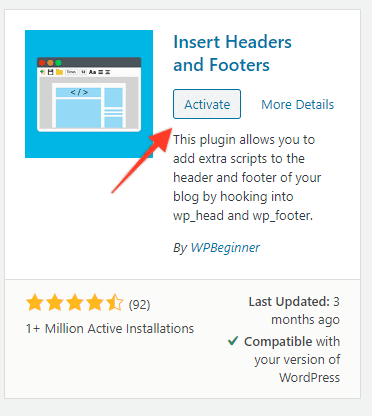
- You’re then going to search for Insert Headers and Footers and click ‘Install Now’

- You’ll then click ‘Activate’

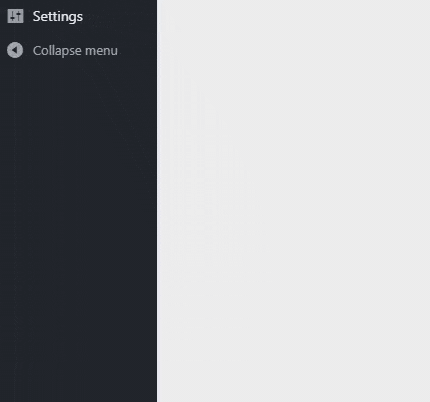
- Now, navigate over to Settings > Insert Header Footers

- Copy and paste your provided code into the appropriately titled box.
- Scripts in Header = it will be added within the <head> section
- Scripts in Body = it will be added at the opening of your <body> tag (this is what we usually suggest)
- Scripts in Footer = it will be added above your </body> tag
- Scroll top the bottom of the page and click Save
- If you’re on CyberOptik’s web hosting, be sure to click ‘Purge Cache’ at the top of your dashboard. This should be done anytime you’re making a change that happens across all pages.
- You’re all set! You did it.
How to add code on a specific page or post of your website
Sometimes you may need to just put code on one specific page of your website, not on every page.
This does not require any special plugin.
How to add code to a page in Elementor
Most new websites we build will be powered by Elementor.
- Navigate to the page you need to add the code to
- Click ‘Edit Within Elementor’

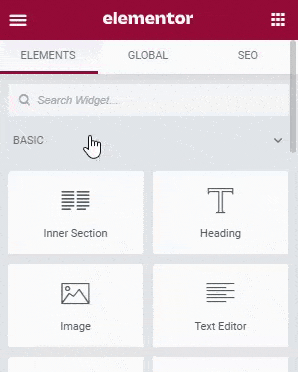
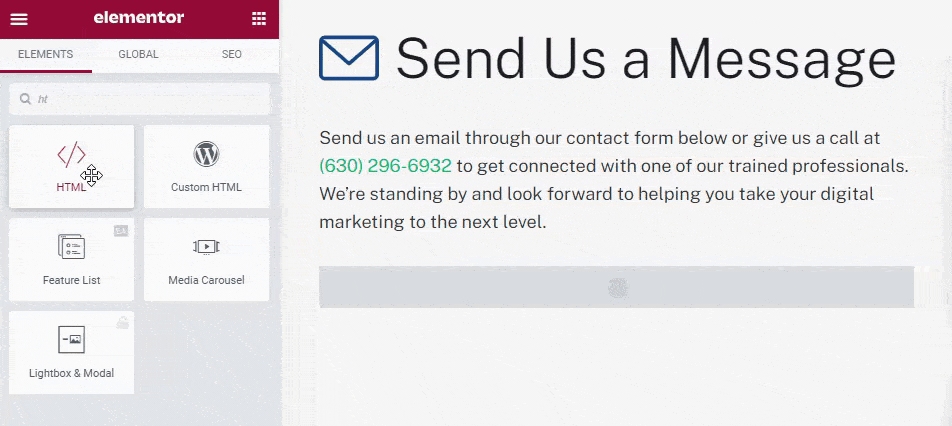
- Within the Elementor sidebar, search for html

- You will then drag/drop this somewhere onto your page

- Once this is added, you’ll see it automatically opens this up on the left-hand side. Paste your HTML code into this box.
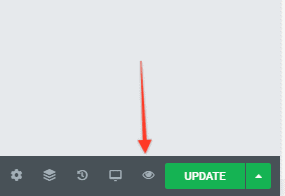
- You will then preview this page to make sure it looks good

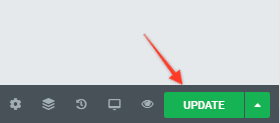
- And if all is well, go ahead and click Update


How to add code to a page Not running Elementor (Classic Editor)
If you navigate to the page/post on your website and it is not showing the ‘Edit with Elementor’ button, this means the page was not created using Elementor.
You’ll need to add the HTML code in a slightly different way.
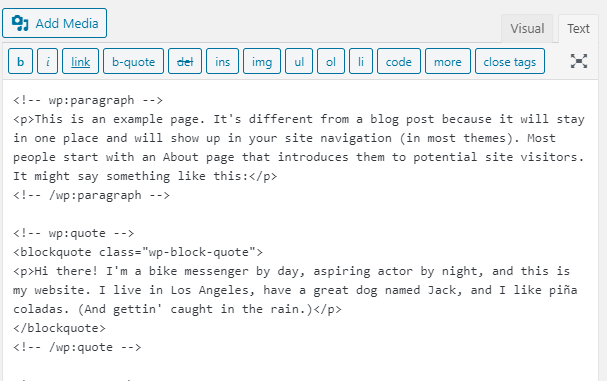
- Navigate to the page or post you need to add the code to
- You should see a box similar to below, click the Text tab in the top right corner

- You’ll now see the actual code of this page (in HTML). Scroll and select the spot that you want to add the HTML code and paste it in.

- Preview the page to make sure all looks good (top right corner)
- If all looks good, click Update (top right corner)